Digital Elevation Models
Digital Elevation Models (or DEMS) are one way to represent terrain on the earth. It’s a fairly simple idea where you have a raster and each pixel represents an elevation point somewhere on the earth. It’s one thing to have the raw X, Y, Z, point data but there are endless possibilities when it comes to visualizing the data. I am going to briefly cover 3 different methods:
- QGIS hillshades
- Blender
- Rayshader (using R)
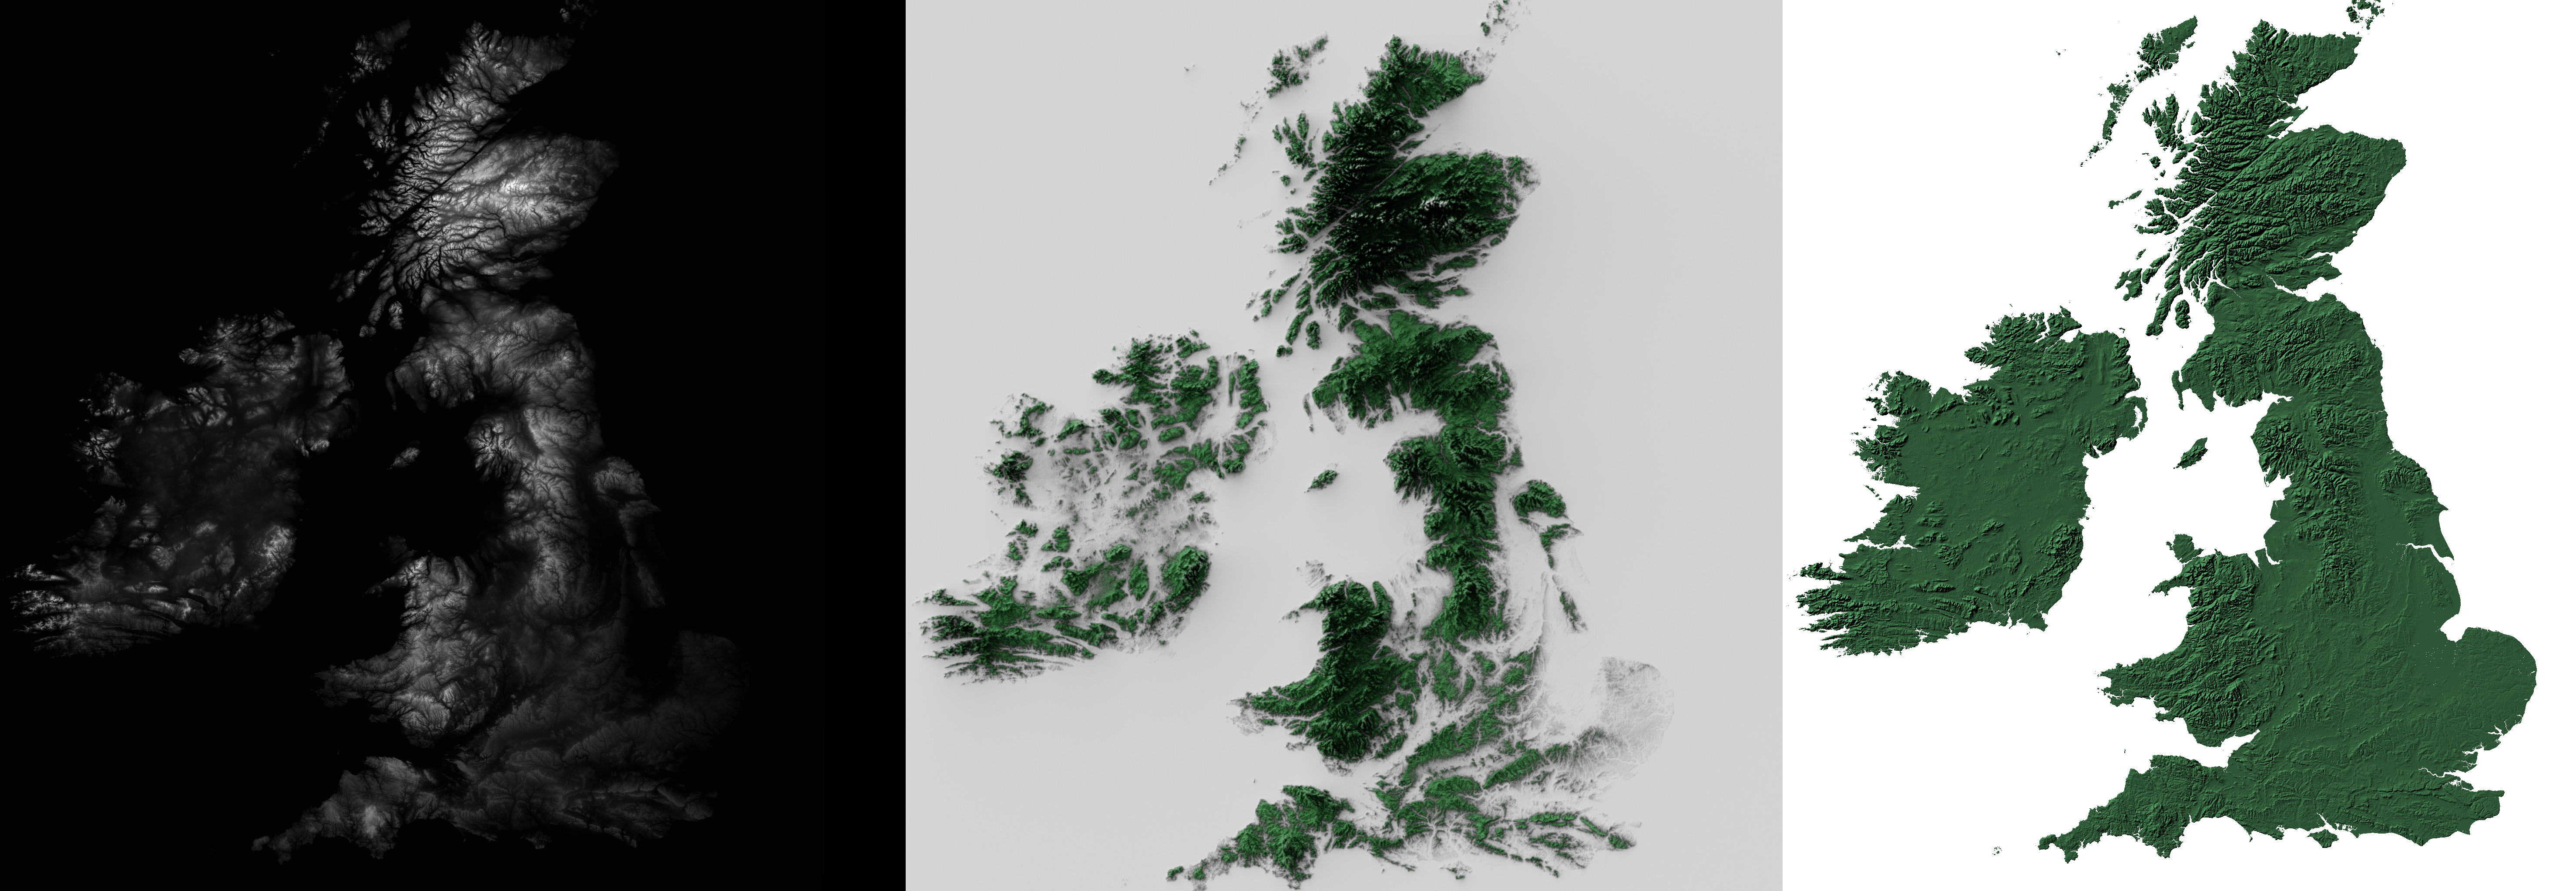
QGIS Hillshades
QGIS is a quick way to view and manipulate raster data. Digital Elevation Models show as a basic black and white gradient by default but with a little tweaking in the symbology you can see the difference above.
To create the above image on the right I added a hillshade, set the lowest elevation value to transparent so only the land is highlighted, and slightly exaggerated the height.
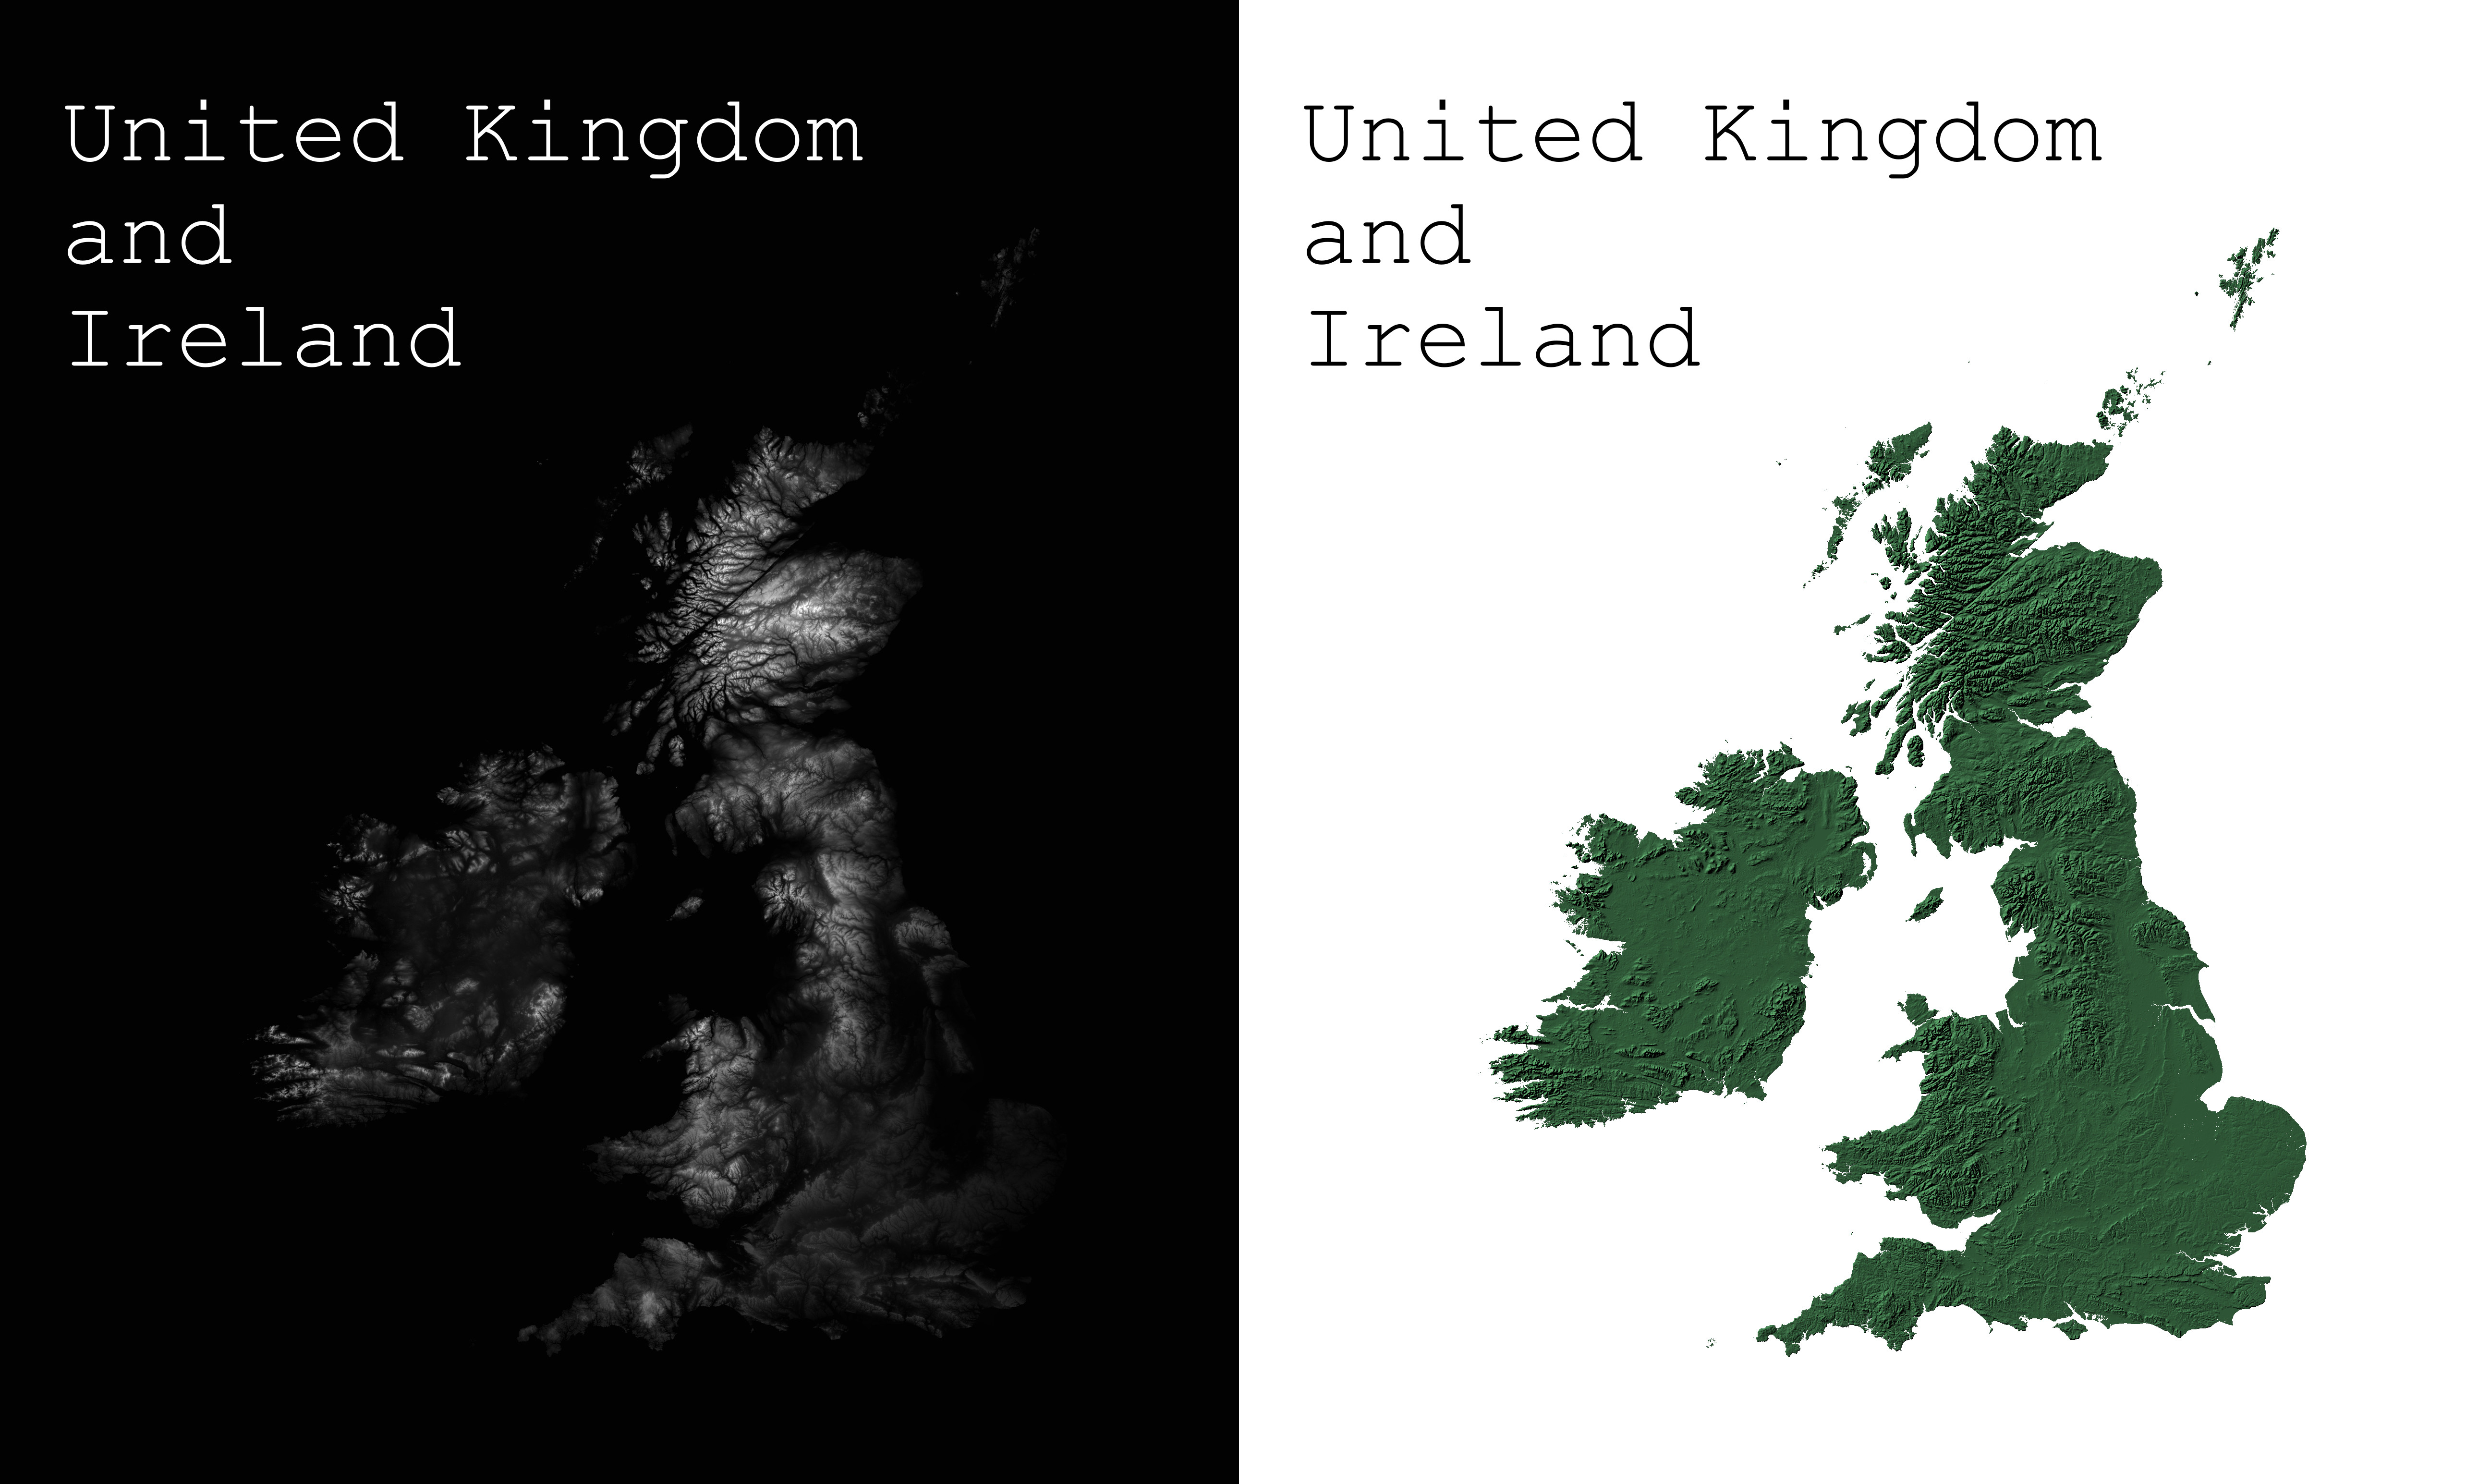
Blender
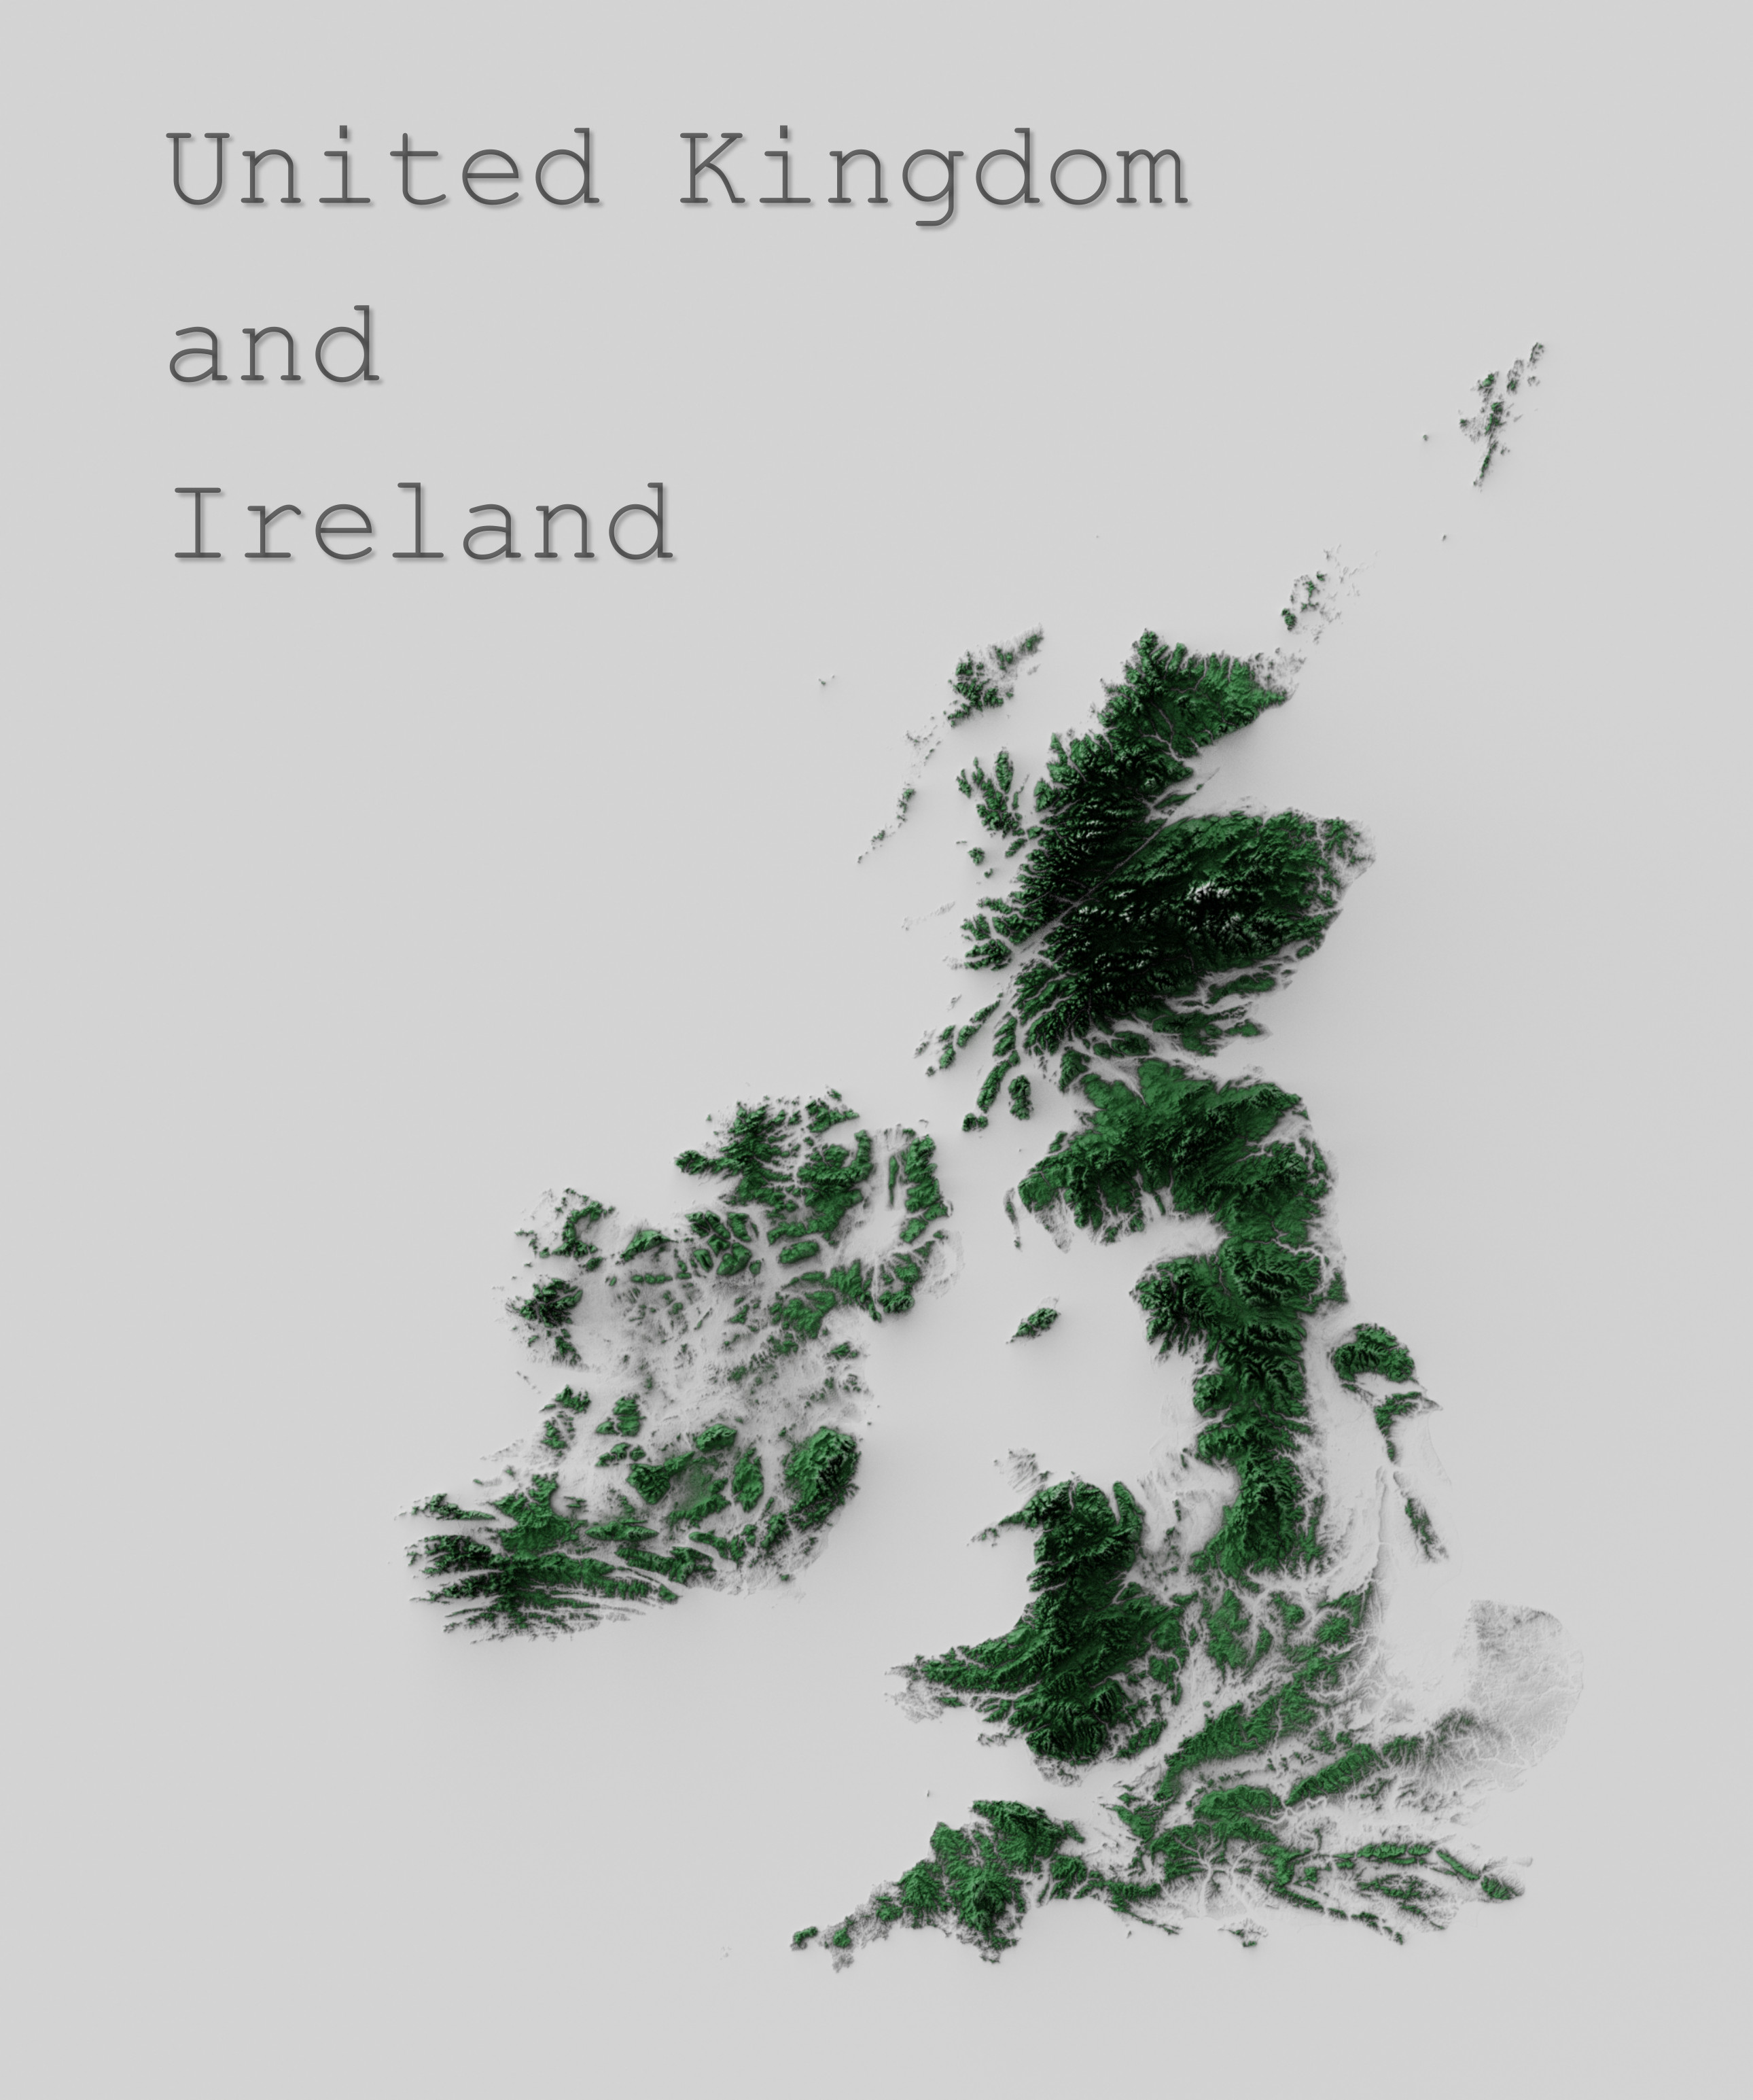
QGIS has some limitations when it comes to showing light sources. Blender on the other hand is more than capable of handling any type of lighting which adds a nice depth to the data. I won’t go into a full tutorial here as it would be quite long but this is the guide that I used in order to create the map above.
Rayshader
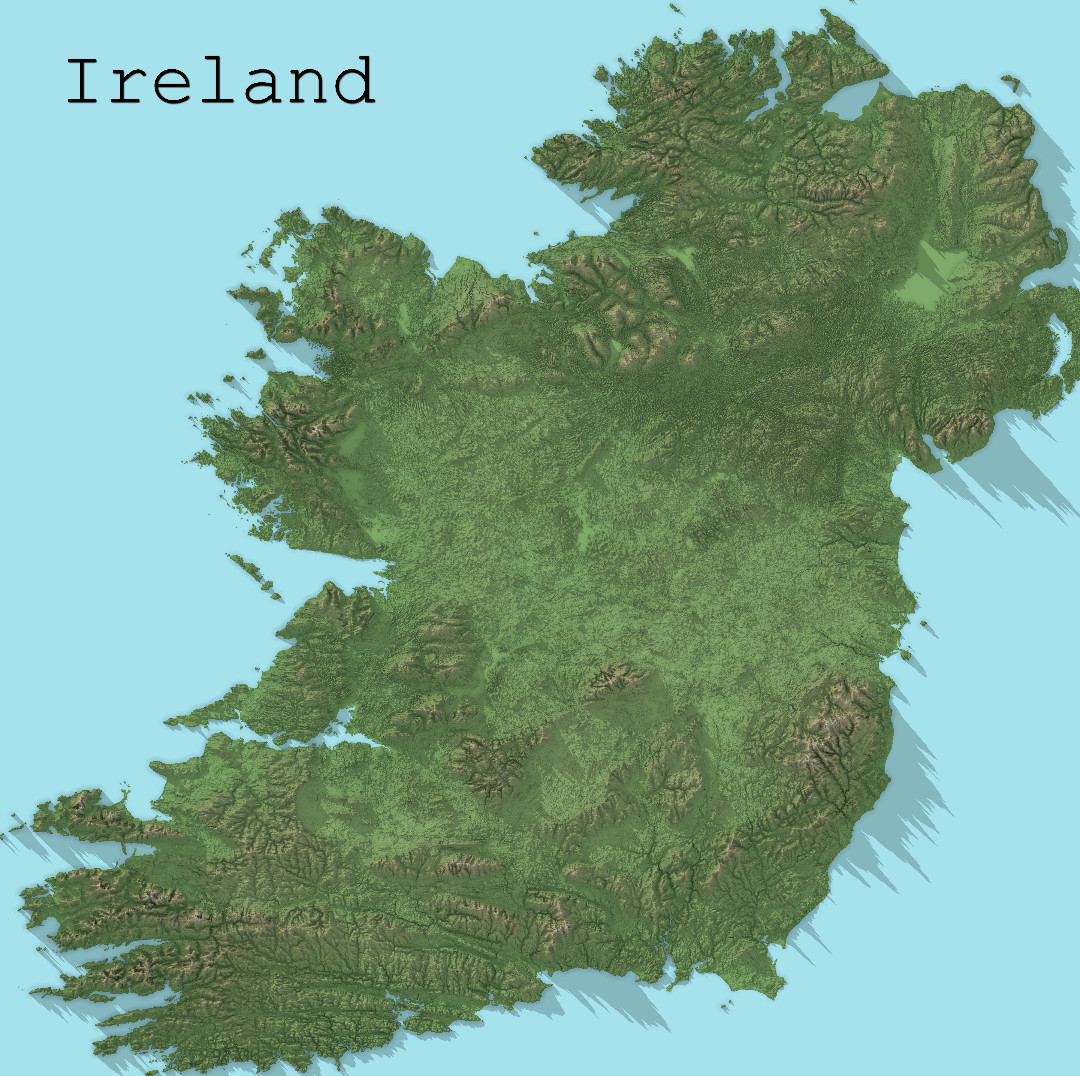
Rayshader was created by Tyler Morgan-Wall using R. In some ways it’s simpler than blender if you have experience using R but can also be quite complex. There are also some limitations when using larger data sets that require supercomputers to process or clever code workarounds. I couldn’t process the full UK with the limited RAM on my PC so I was only able to do Ireland for now. I’m sure larger areas are possible but I’m not familiar enough with R yet to process them efficiently.
Here’s how I set up my system on windows to use Rayshader:
Install R:
Windows needs these files:
R:
https://cran.r-project.org/bin/windows/base/
Rtools:
https://cran.r-project.org/bin/windows/Rtools/
Rstudio:
https://www.rstudio.com/products/rstudio/download/
Packages within R:
install.packages("devtools")
install.packages("rgdal")
install.packages("magick")
Install Rayshader:
devtools::install_github("tylermorganwall/rayshader")
Basic Code:
library(rayshader)
library(rgdal)

#Here, I load a map with the raster package.
#Test File to download from here: https://tylermw.com/data/dem_01.tif.zip
localtif = raster::raster("path/to/dem_01.tif")

#And convert it to a matrix:
elmat = raster_to_matrix(localtif)

#We use another one of rayshader's built-in textures:
elmat %>%
 sphere_shade(texture = "desert") %>%
 plot_map()

# you can also add some other variables:
#  add_water(detect_water(elmat), color = "desert") %>%
#  add_shadow(ray_shade(elmat), 0.5) %>%
#  add_shadow(ambient_shade(elmat), 0) %>%